Task-Level Screenshot Walkthroughs
This page gives short click-path walkthroughs for common tasks. Screenshots are provided at the page level and should match the documentation site the user is viewing.
1. Create and Monitor an Assessment
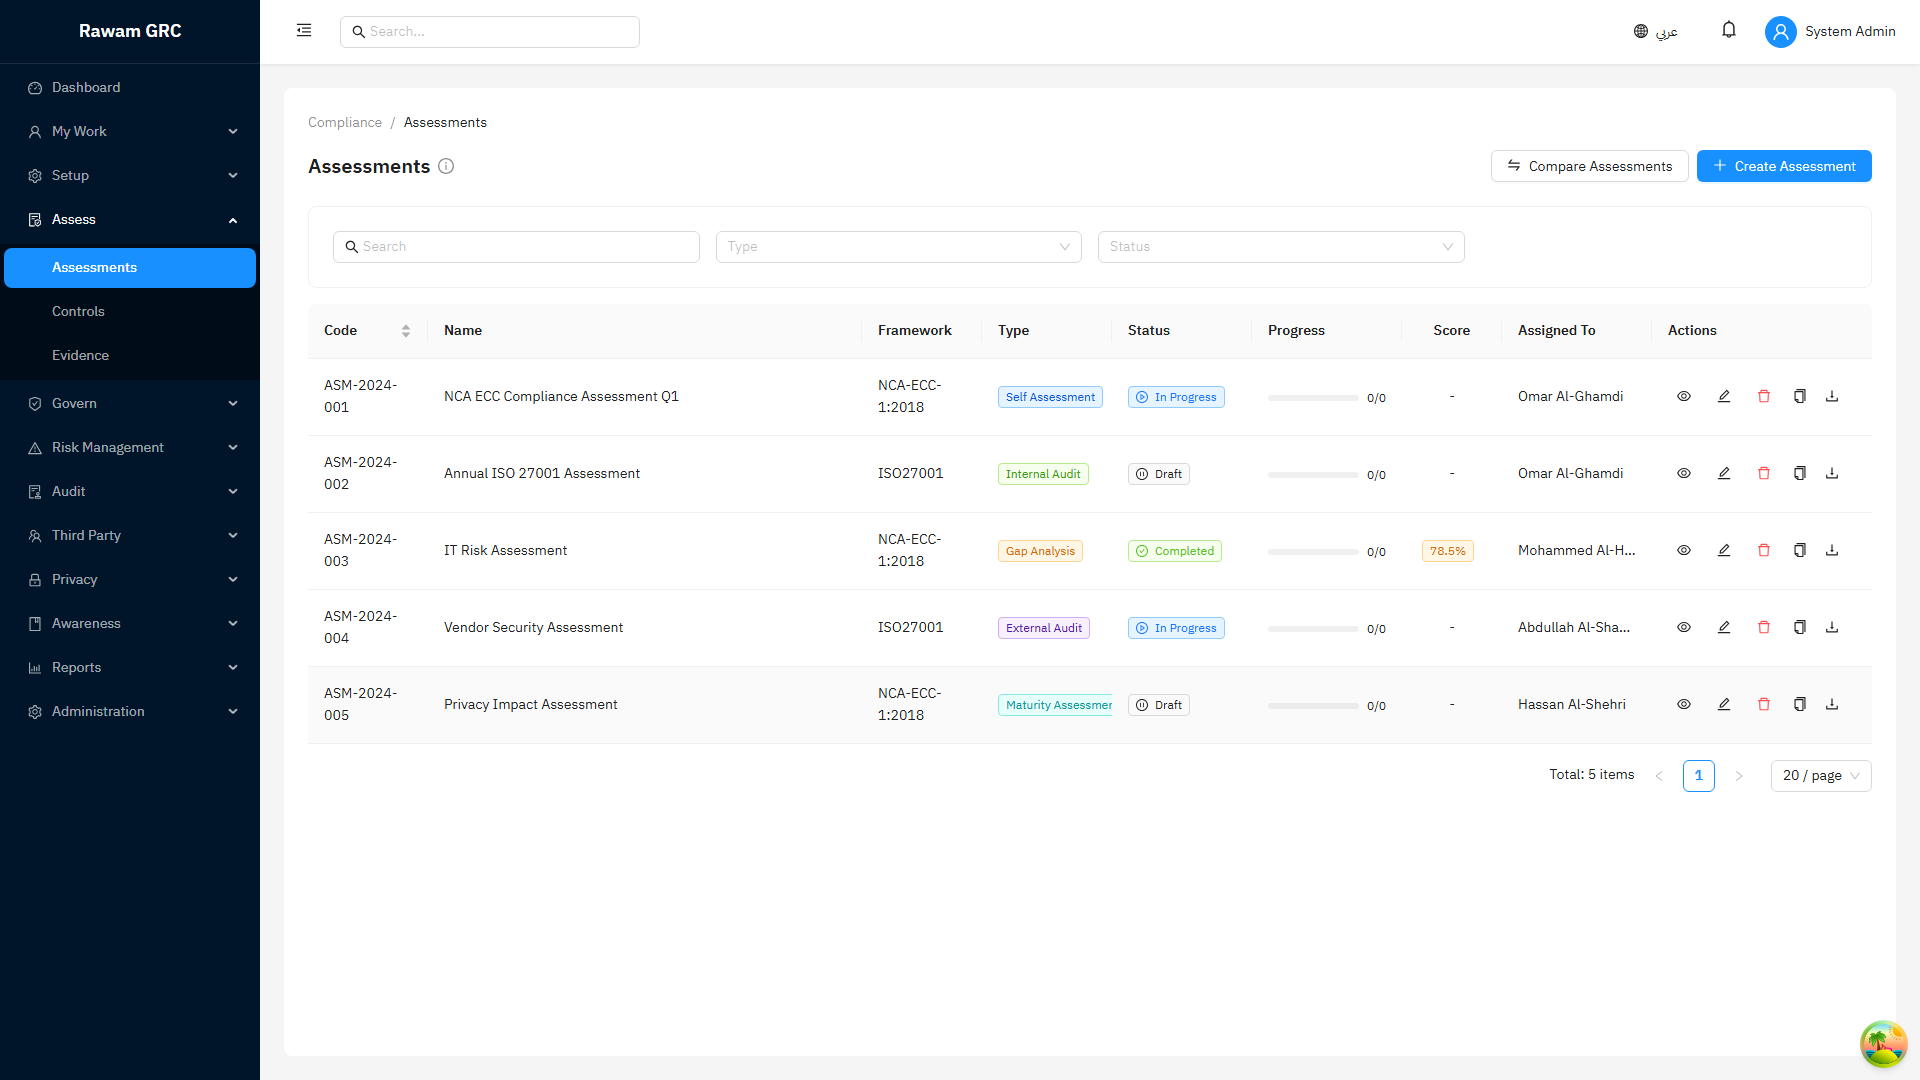
Click path:
- Open Assessments.
- Select Create or the equivalent new assessment action.
- Enter title, scope, framework, owner, start date, and due date.
- Assign controls or requirements to the correct owners.
- Add evidence instructions.
- Launch or save the assessment.
- Monitor progress from the assessment list.
- Open overdue or pending review assessments for follow-up.
Quality check:
- every control has an owner
- due date is realistic
- evidence expectation is clear
- reviewer is available
2. Submit or Review Evidence
Click path:
- Open the assessment.
- Open the control or requirement.
- Review the response, explanation, and attached evidence.
- Accept the response if evidence supports it.
- Request changes if evidence is outdated, unclear, or unrelated.
- Document the review decision.
Quality check:
- evidence matches the review period
- evidence supports the status selected
- sensitive information is not unnecessary
3. Create or Review a Critical Risk
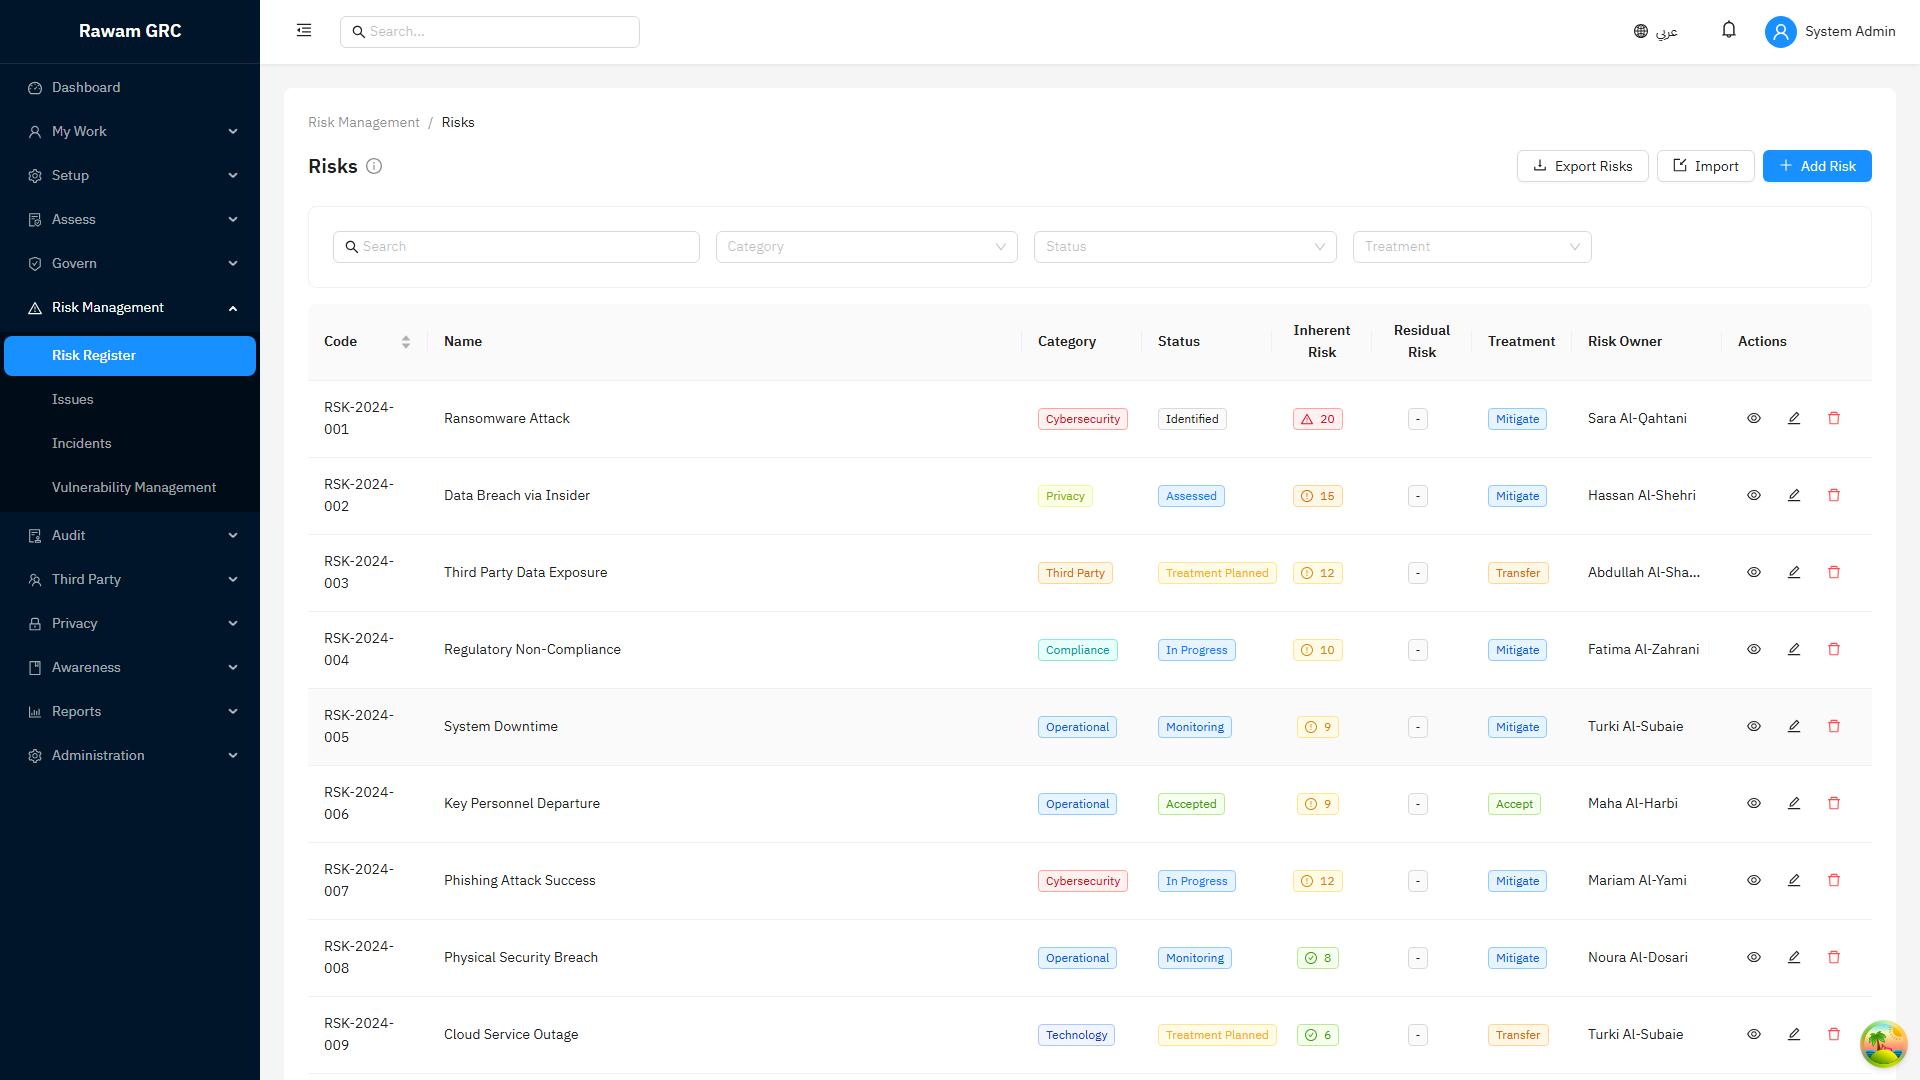
Click path:
- Open Risk Register.
- Filter by high or critical residual rating.
- Open the risk.
- Review owner, inherent score, residual score, treatment, and review date.
- Confirm linked controls, issues, assets, or vendors.
- Update treatment progress or create follow-up action.
- Escalate if the risk exceeds appetite or has overdue treatment.
Quality check:
- residual score is supported by treatment evidence
- acceptance has justification
- review date is not overdue
4. Publish a Policy and Track Acknowledgement
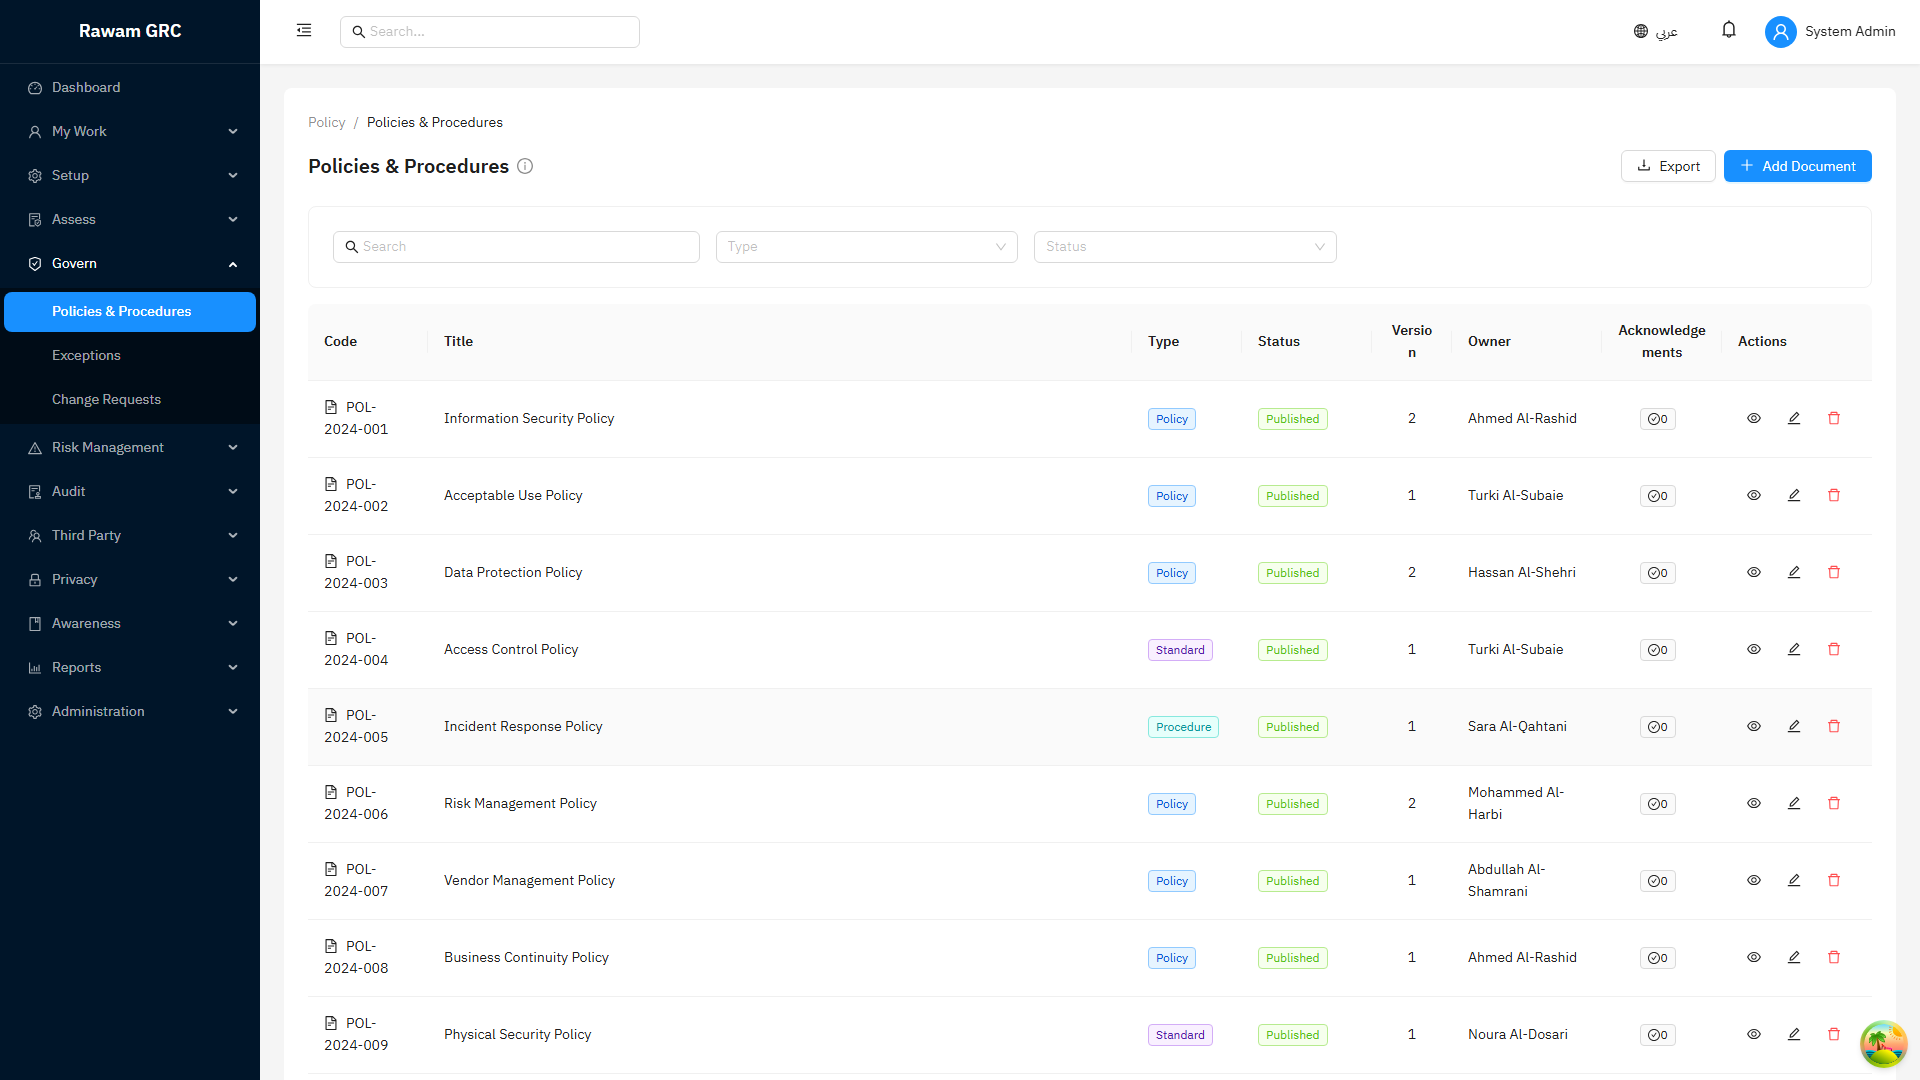
Click path:
- Open Policies.
- Create or open the draft policy.
- Confirm owner, version, audience, effective date, and review date.
- Attach or confirm the approved policy document.
- Submit for approval.
- Publish after approval.
- Monitor acknowledgements.
- Follow up overdue acknowledgements by audience or department.
Quality check:
- audience is correct before publication
- policy has review date
- acknowledgement requirement is clear
5. Onboard a Vendor
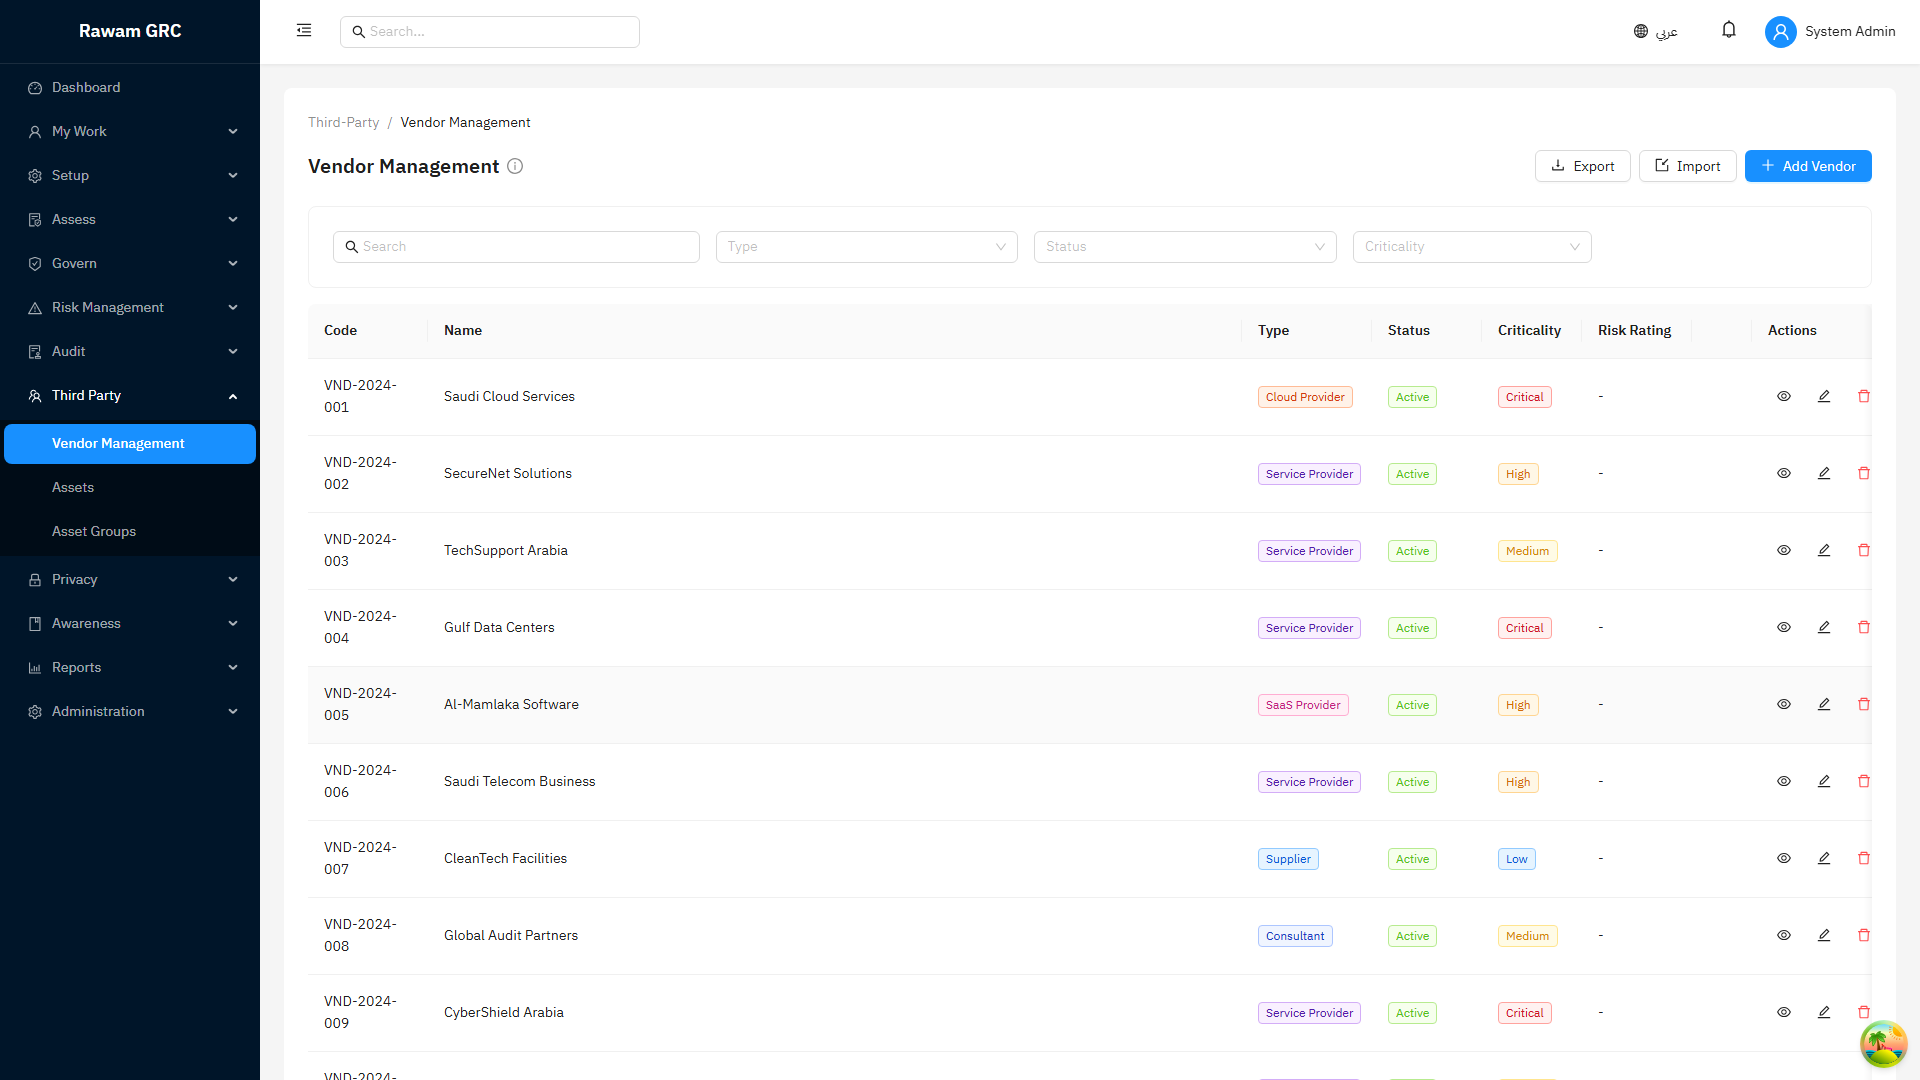
Click path:
- Open Vendors.
- Create the vendor record.
- Enter vendor name, service description, owner, criticality, and status.
- Start or attach vendor assessment when required.
- Record risk rating and review date.
- Link risks, issues, or evidence where needed.
- Review high-risk vendors regularly.
Quality check:
- owner is assigned
- criticality is not blank
- risk rating has assessment support
- review date is set
6. Prepare an Audit Evidence Pack
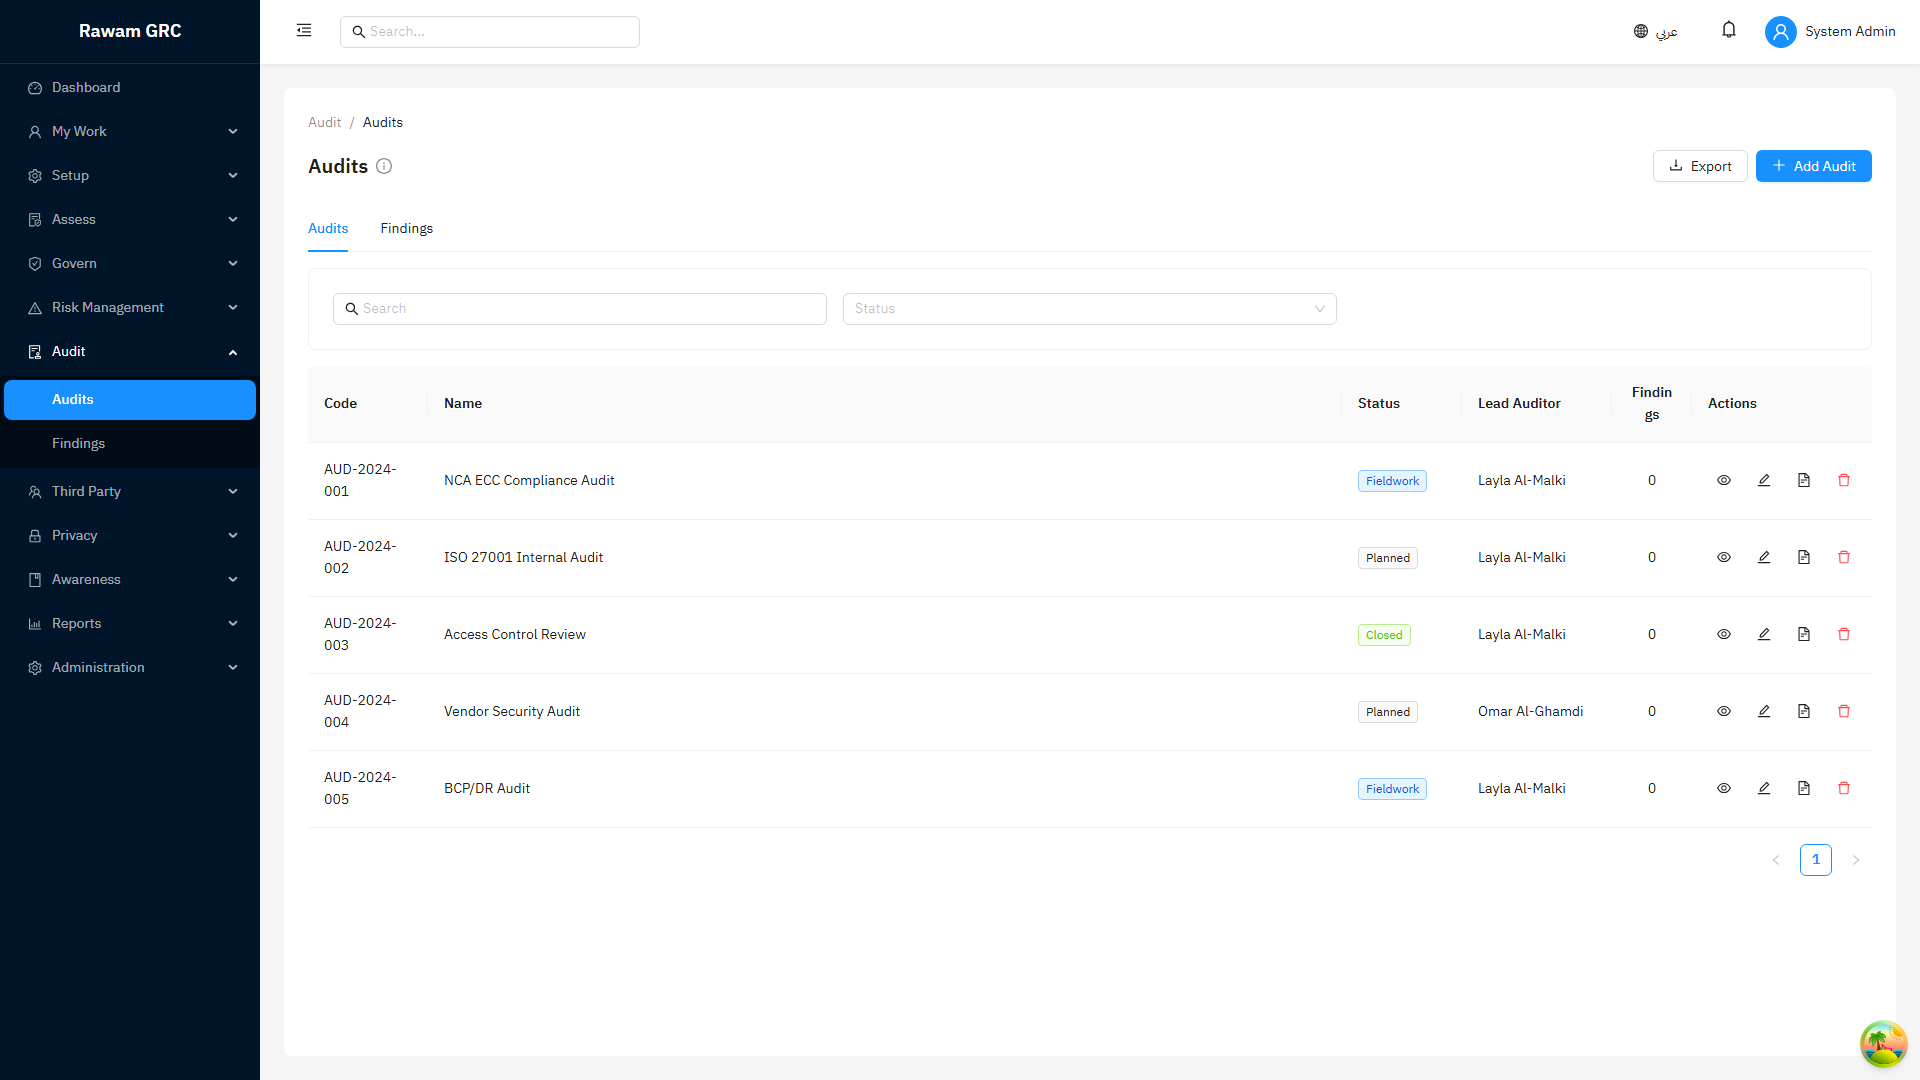
Click path:
- Open Audit.
- Select the audit or finding.
- Review scope, owner, due date, severity, and status.
- Open linked assessments, controls, policies, risks, issues, and evidence.
- Confirm evidence is current and relevant.
- Export the needed report or evidence list.
- Track open findings until remediation evidence is submitted, auditor verification is complete, and any linked assessment control is reassessed.
Quality check:
- evidence supports the audit period
- open findings have owners and due dates
- closure decisions are documented
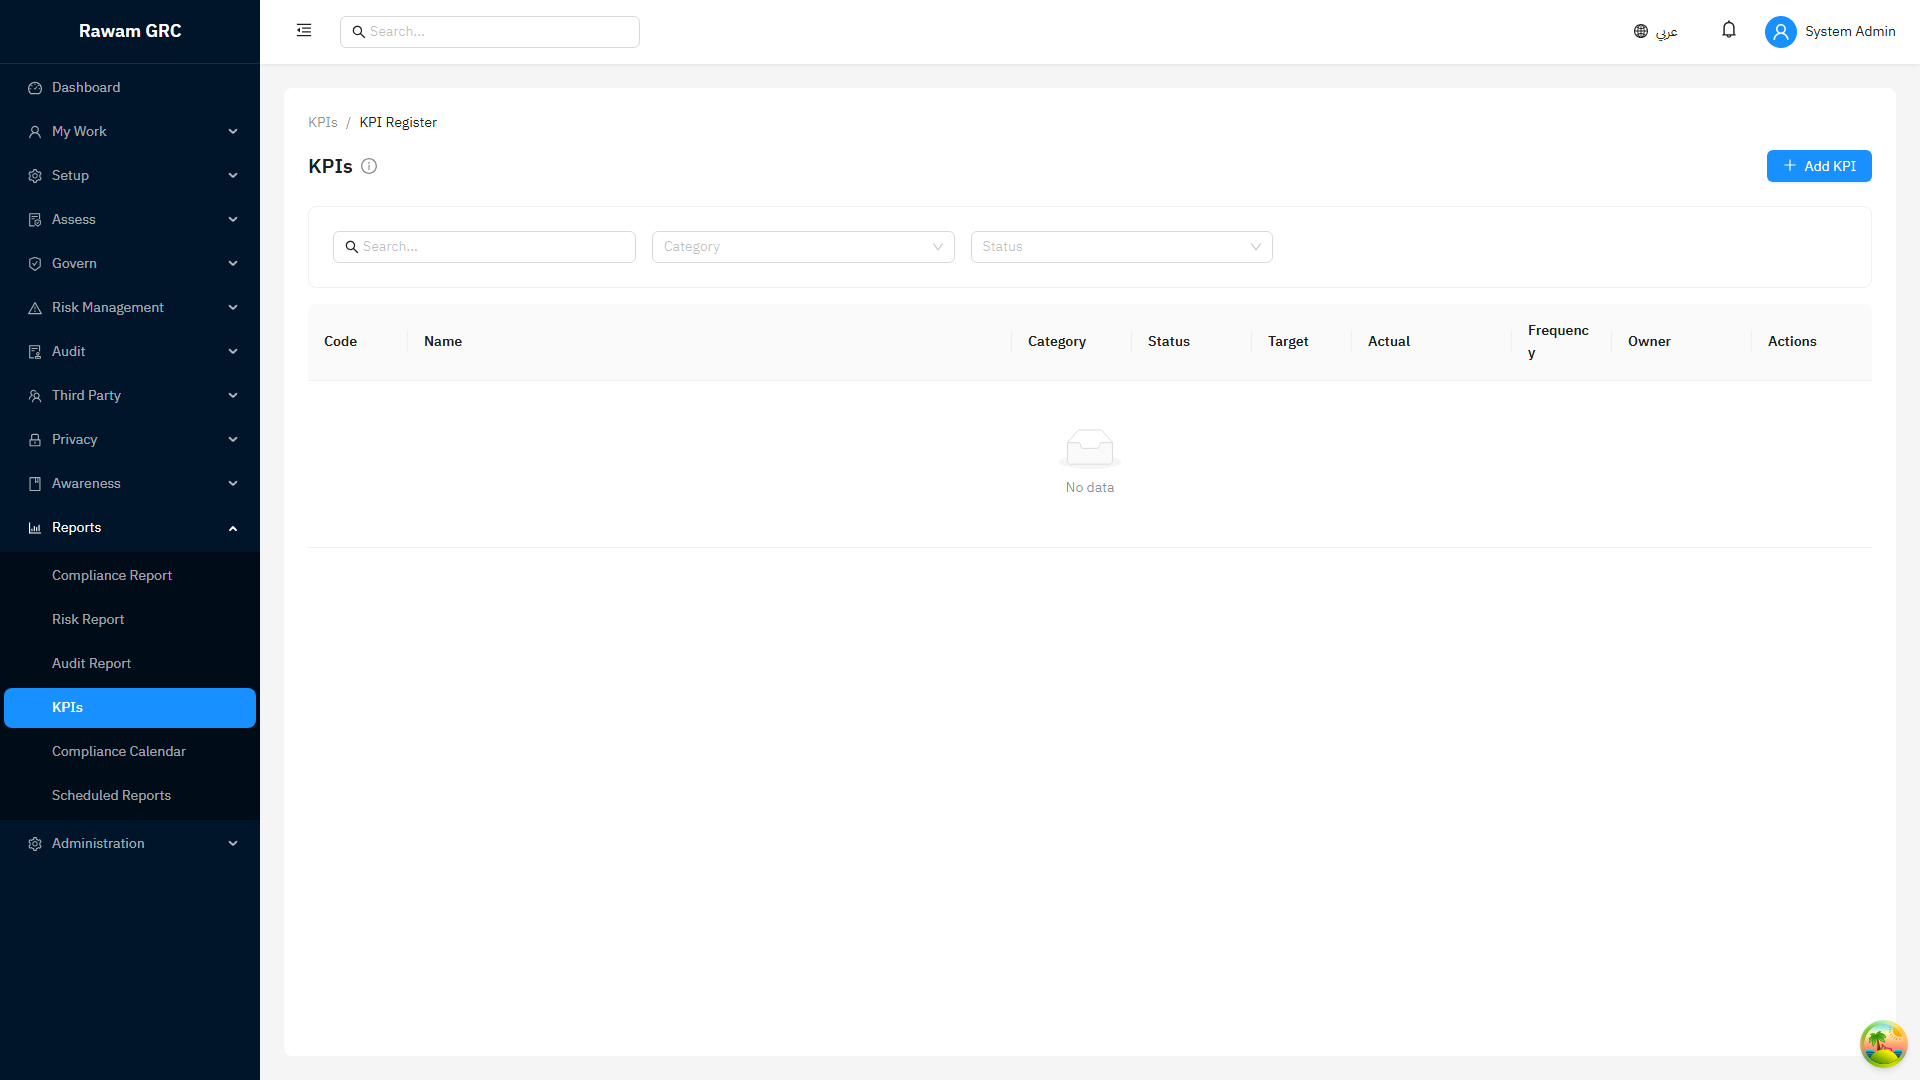
7. Build a Management Report Pack
Click path:
- Open Dashboard and review current alerts.
- Open Reports or KPIs.
- Select the required report.
- Apply period, framework, owner, status, or department filters.
- Validate numbers against source records.
- Export the report.
- Add management commentary for decisions, blockers, and escalations.
Quality check:
- filters match the meeting scope
- source records are reviewed
- KPI breaches are explained
- decisions required are clearly listed